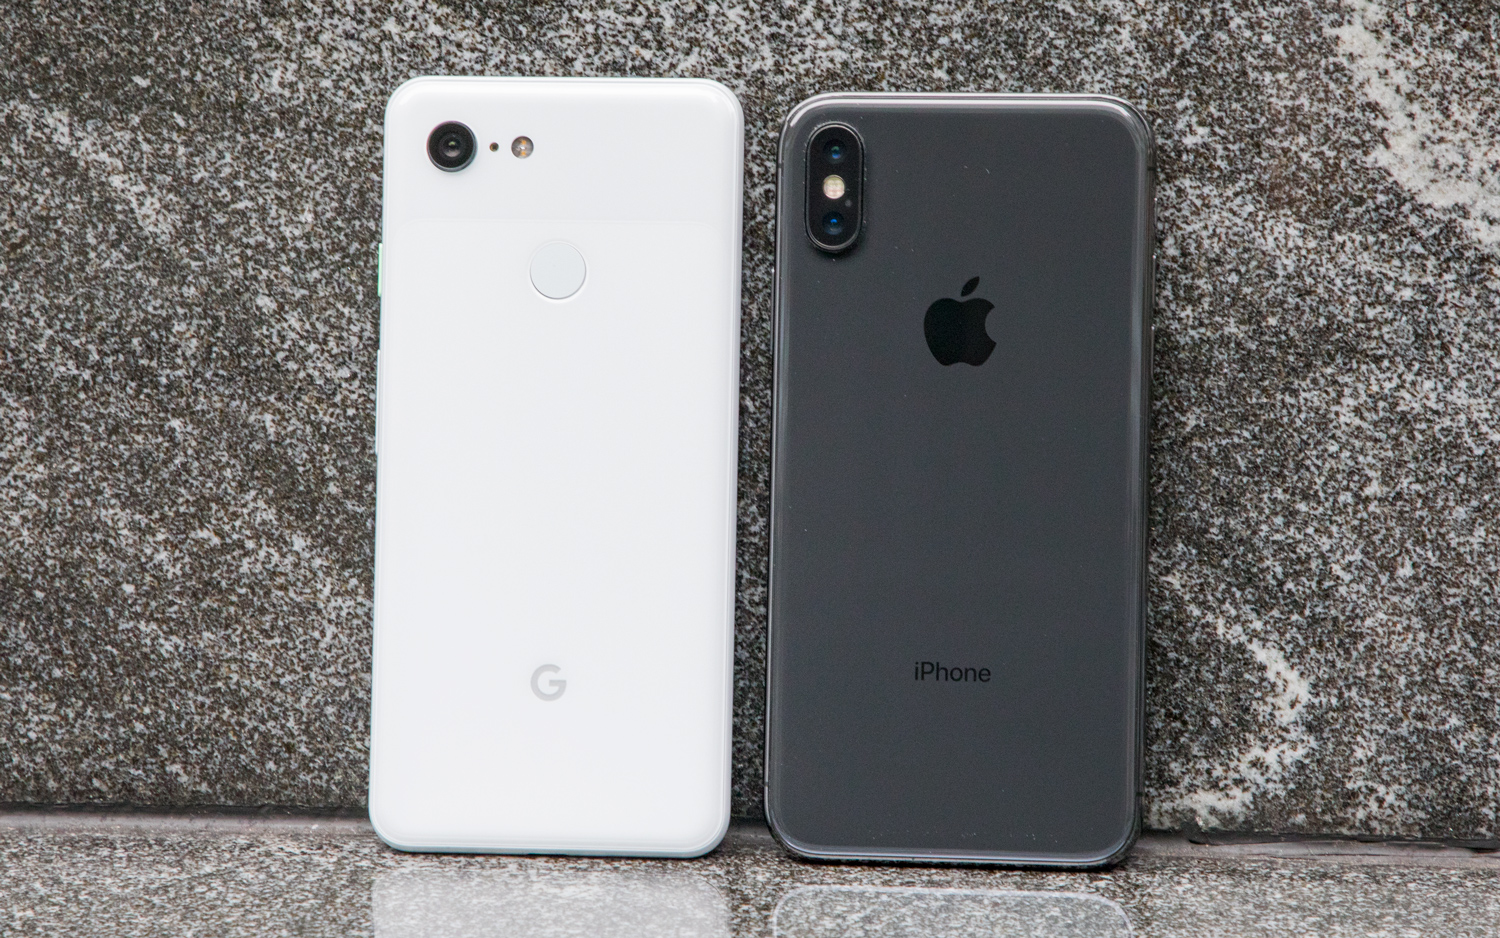
The iPhone XS and Google Pixel 3 have introduced cutting-edge portrait photography features, making it easier than ever to capture professional-looking portraits with beautiful background blur (bokeh). Both phones leverage advanced camera technology and software to create stunning depth-of-field effects, giving smartphone users DSLR-like results.
Here’s how to make the most of Portrait Mode on the iPhone XS and Google Pixel 3 to take incredible portraits.
1. Understand Portrait Mode Technology
iPhone XS: Utilises a dual-camera system with a telephoto lens for true optical depth-of-field effects. Portrait Mode simulates bokeh by separating the subject from the background using hardware and software.
Google Pixel 3: Uses a single lens with advanced computational photography. Google’s machine learning algorithms create a highly realistic depth effect without the need for a second lens.
Pro Tip: The iPhone XS allows you to adjust the intensity of the background blur (aperture) even after taking the photo, while the Pixel 3 excels at edge detection and maintaining natural details.
2. Choose the Right Lighting
Lighting is critical for good portrait photography. Both phones perform well in various lighting conditions, but optimal results require thoughtful planning.
- Natural Light: Shoot outdoors during golden hour (early morning or late afternoon) for soft, warm lighting.
- Avoid Harsh Shadows: On sunny days, use open shade or position your subject so the light is even.
- Indoor Lighting: Position your subject near a window or soft light source for flattering highlights and shadows.
Pro Tip: Avoid using the flash, as it can create harsh shadows and eliminate the natural depth effect.
3. Frame Your Shot Thoughtfully
Good composition enhances the impact of your portrait.
- Rule of Thirds: Enable the grid lines in your camera settings and position your subject slightly off-centre.
- Fill the Frame: Move closer to your subject to highlight facial features while blurring the background.
- Include Foreground Elements: Incorporate objects like leaves, fences, or curtains in the foreground to add depth and interest.
Pro Tip: Keep the background simple or distant to enhance the bokeh effect.
4. Use the Camera’s Portrait Features
On the iPhone XS
- Open the Camera app and swipe to Portrait Mode.
- Position your subject about 2–3 metres away. The phone will guide you with prompts like “Move closer” or “Move farther away.”
- After taking the photo, open it in the Photos app and use the Depth Control slider to adjust the intensity of the background blur.
Pro Tip: Try Portrait Lighting effects like Studio Light (brightens the subject’s face) or Contour Light (adds dramatic shadows) for a professional finish.
On the Google Pixel 3
- Open the Camera app and select Portrait Mode.
- Tap on your subject to lock focus and ensure the edges are sharp.
- The Pixel 3 automatically processes the depth effect; you can adjust it later in Google Photos.
Pro Tip: The Pixel 3’s machine learning shines in challenging situations, such as complex backgrounds or low light.
5. Focus on Your Subject
Both phones allow you to manually control focus to ensure your subject is sharp and clear.
- Tap to Focus: Tap on your subject’s eyes to make them the focal point of the photo.
- Adjust Exposure: After focusing, use the exposure slider to brighten or darken the image for the perfect look.
Pro Tip: For group portraits, ensure all subjects are roughly the same distance from the camera to keep everyone in focus.
6. Experiment with Backgrounds
The background can make or break your portrait.
- Simple and Clean: A plain wall or distant trees enhance the bokeh effect.
- Colour Contrast: Use backgrounds that contrast with your subject’s clothing or skin tone for striking visuals.
- Creative Choices: Neon signs, sunsets, or textured surfaces add personality to your portraits.
Pro Tip: Both phones handle detailed backgrounds well, but simpler settings emphasise the subject more effectively.
7. Adjust for Low Light
Both phones perform admirably in low light, but some tweaks can improve your results:
- On the iPhone XS, use Night Mode to brighten the scene while retaining sharpness.
- The Pixel 3’s Night Sight is especially powerful, maintaining vibrant colours and sharp details without harsh noise.
Pro Tip: Use a tripod or stabilise your phone for sharper results in dim lighting.
8. Enhance Your Photos with Editing
Editing can elevate your portraits to the next level.
- iPhone XS: Use the built-in editor to adjust depth, brightness, and colour. Third-party apps like Lightroom Mobile or Snapseed offer advanced tools.
- Google Pixel 3: Google Photos allows you to tweak the blur effect or adjust exposure, contrast, and saturation.
Pro Tip: For a polished finish, lightly sharpen your subject while maintaining the soft background blur.
9. Practice with Different Subjects and Angles
- Single Subjects: Focus on one person for sharp, detailed portraits.
- Pets and Objects: Experiment with non-human subjects, such as pets or flowers, for creative shots.
- Angles: Shoot from slightly above for a flattering look or explore low angles for a dramatic effect.
Pro Tip: Always take multiple shots to ensure you capture the best angle and expression.
Common Mistakes to Avoid
- Overexposed Backgrounds: Check exposure levels to avoid losing detail in bright areas.
- Cluttered Frames: Simplify the composition to draw attention to your subject.
- Overediting: Keep edits subtle to maintain a natural and professional look.
Conclusion
The iPhone XS and Google Pixel 3 have redefined smartphone portrait photography with their advanced Portrait Modes. By mastering features like depth control, lighting adjustments, and thoughtful composition, you can capture professional-quality portraits that rival those taken with dedicated cameras.
Experiment with these tips and techniques to unlock the full potential of your phone’s camera and create portraits that stand out. With a little practice, you’ll be amazed at what you can achieve!


