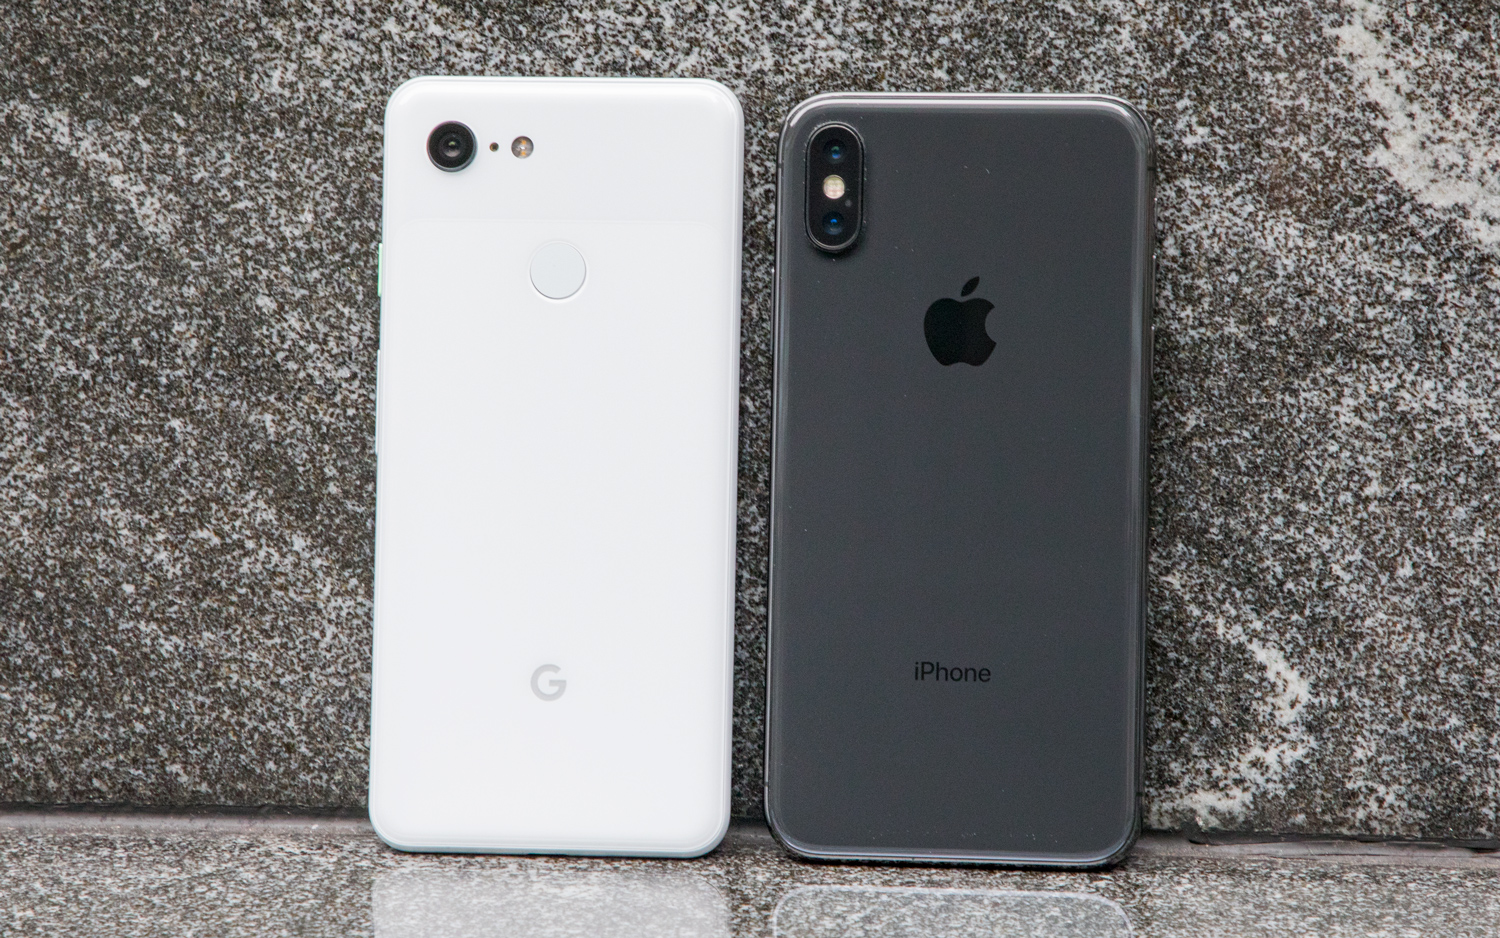
Google’s Night Sight has revolutionised smartphone photography, making it possible to capture stunning photos in extremely low-light conditions. Introduced with the Google Pixel 3, Night Sight uses advanced computational photography to brighten scenes, reduce noise, and reveal details that would otherwise be lost in the dark. Whether you’re capturing cityscapes, nighttime portraits, or starry skies, Night Sight is a game-changer.
Here’s how to make the most of Night Sight and take your night photography to the next level.
1. What Is Night Sight?
Night Sight is a specialised mode that combines multiple exposures and Google’s AI-powered image processing to:
- Brighten dark scenes without using a flash.
- Reduce noise for cleaner, sharper images.
- Enhance colours and details to make night photos look natural and vibrant.
Unlike standard night modes, Night Sight can capture details invisible to the naked eye, making it ideal for dimly lit environments.
2. How to Enable Night Sight
Using Night Sight on your Pixel phone is simple:
- Open the Camera app.
- Swipe to Night Sight or select it from the “More” menu.
- Hold your phone steady, frame your shot, and press the shutter button.
- Night Sight will process the image automatically, combining multiple exposures to create the final photo.
Pro Tip: Night Sight works best when your phone is stable, so consider using a tripod or resting your phone on a solid surface.
3. Stabilise Your Phone for Sharper Results
Night Sight takes multiple exposures, so any movement can result in blur.
- Use a Tripod: For the sharpest images, stabilise your phone with a portable tripod.
- Lean Against Something: If you don’t have a tripod, rest your phone on a flat surface or lean against a wall.
- Enable the Timer: Set a 2- or 3-second timer to avoid shaking the phone when pressing the shutter.
Pro Tip: Night Sight will detect when the phone is stable and automatically extend the exposure time for brighter results.
4. Choose the Right Lighting
While Night Sight excels in low-light conditions, it still benefits from some ambient lighting:
- City Lights: Use streetlights, neon signs, or car headlights to add drama and colour to your photos.
- Natural Light: Moonlight and reflections on water can enhance your shots.
- Artificial Light: Place your subject near a soft, warm light source for more balanced portraits.
Pro Tip: Avoid overly bright light sources, as they can create blown-out highlights in your photo.
5. Adjust Focus and Exposure
Night Sight automatically adjusts exposure and focus, but you can take control for better results:
- Tap to Focus: Tap on your subject to lock focus and ensure it’s sharp.
- Adjust Exposure: Drag the exposure slider up or down to brighten or darken the scene.
Pro Tip: For scenes with varying light levels, experiment with different exposure settings to find the right balance.
6. Use Night Sight for Portraits
Night Sight works surprisingly well for nighttime portraits:
- Position your subject near a light source to illuminate their face.
- Use the Portrait Mode with Night Sight to create a shallow depth of field while enhancing the details in low light.
- Encourage your subject to stay still during the shot to avoid motion blur.
Pro Tip: Night Sight adjusts skin tones for natural-looking portraits even in dim lighting.
7. Capture Creative Night Shots
Night Sight isn’t just for standard photos. Use it creatively to capture unique images:
- Light Trails: Hold your phone steady to capture the trails of car headlights or other moving lights.
- Reflections: Look for reflections in puddles, windows, or shiny surfaces for artistic compositions.
- Starry Skies: Night Sight can capture stars and constellations, especially in areas with minimal light pollution.
Pro Tip: For astrophotography, pair Night Sight with a tripod and aim for a clear, dark sky.
8. Edit Your Photos for Extra Impact
Even Night Sight photos can benefit from light editing. Use apps like Google Photos, Snapseed, or Lightroom Mobile:
- Brightness and Contrast: Fine-tune the balance between highlights and shadows.
- Noise Reduction: Night Sight minimises noise, but further adjustments can make your photos even cleaner.
- Colour Enhancements: Boost vibrancy or adjust white balance for richer tones.
Pro Tip: Avoid over-editing—Night Sight’s natural look is part of its appeal.
9. Avoid Common Mistakes
To get the best results, steer clear of these common pitfalls:
- Moving Subjects: Night Sight struggles with motion blur. For moving objects, switch to a faster shooting mode.
- Overexposed Lights: Too many bright lights in the frame can wash out your photo. Recompose to balance the scene.
- Dirty Lens: A smudged lens can create hazy photos, especially in low light. Clean your lens regularly.
Pro Tip: Preview your shot after taking it to identify and correct any issues.
10. Practice and Experiment
Night photography takes patience and experimentation. Practice with different lighting conditions, angles, and compositions to discover what works best for your style.
- Start with simple scenes like cityscapes or well-lit streets.
- Progress to darker settings like parks or beaches for more dramatic shots.
Pro Tip: Try taking the same photo with and without Night Sight to compare results and learn its strengths.
Conclusion
Google’s Night Sight is a powerful tool that makes night photography accessible to everyone. By stabilising your phone, experimenting with focus and exposure, and choosing the right lighting, you can capture stunning low-light photos that rival those taken with professional cameras.
With a bit of practice, you’ll soon be creating breathtaking night shots that showcase the magic of darkness. Grab your Pixel and start exploring the night—it’s full of photographic possibilities!


