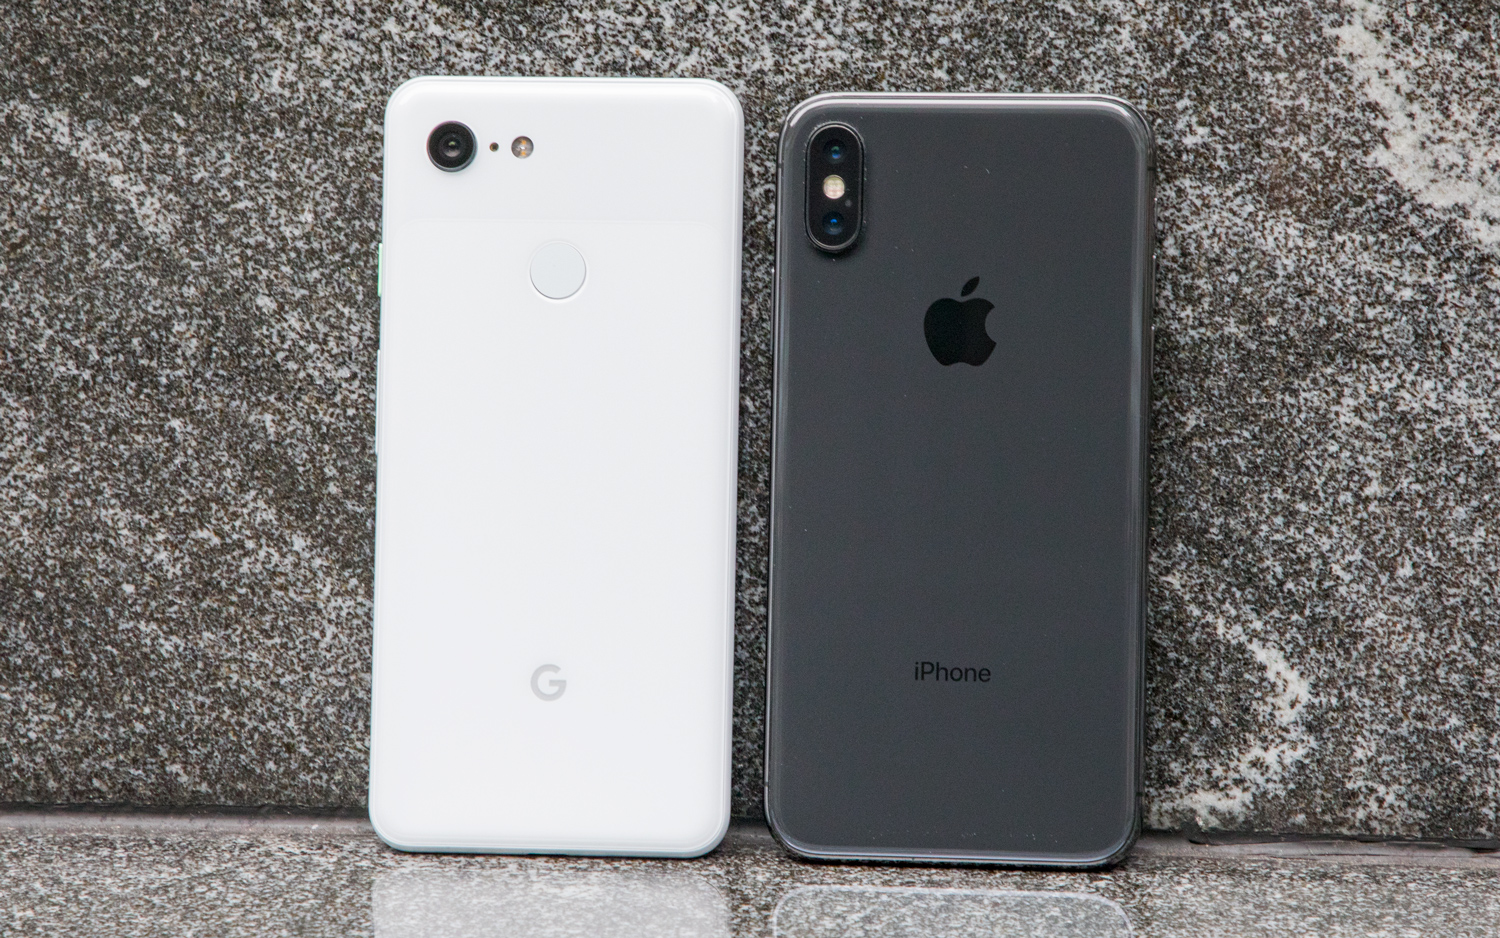
Night photography is one of the most rewarding yet challenging aspects of smartphone photography. Capturing sharp, detailed images in low-light conditions requires a solid understanding of how your camera works and how to make the most of its features. One of the most important tools in your arsenal is your phone’s wide aperture lens, which allows more light to reach the sensor.
Here’s how to use wide apertures effectively to take stunning low-light shots with your smartphone.
What Is a Wide Aperture and Why Does It Matter?
The aperture is the opening in the lens that lets light pass through to the camera sensor. A wide aperture, represented by a smaller f-number (e.g., f/1.7), allows more light to enter, which is crucial for low-light photography.
Benefits of a Wide Aperture in Low Light:
- Improved Brightness: Captures more light, reducing the need for artificial flash or higher ISO.
- Shallow Depth of Field: Creates a blurred background (bokeh effect) that highlights your subject.
- Sharper Details: Reduces motion blur by enabling faster shutter speeds.
Smartphones like the Samsung Galaxy S7 (f/1.7) and iPhone 7 (f/1.8) have wide apertures that excel in low-light conditions.
1. Stabilise Your Phone
A steady phone is essential for clear low-light shots. Even with a wide aperture, slight movements can blur your photo.
- Use a Tripod: Mini tripods like the Joby GorillaPod are portable and perfect for stabilising your phone.
- Lean on a Surface: If you don’t have a tripod, rest your phone on a stable surface like a table or wall.
- Use a Timer or Remote Shutter: Minimise shake by setting a timer or using a Bluetooth remote to take the photo.
Pro Tip: Some smartphones have optical image stabilisation (OIS) to help reduce blur in handheld shots.
2. Adjust Your Camera Settings
Many smartphones offer manual controls or “Pro” modes that let you adjust settings for optimal low-light performance.
- Lower Your ISO: A higher ISO brightens the image but introduces noise. Use the lowest ISO setting that still captures enough light.
- Set a Slow Shutter Speed: A longer exposure time lets more light in. Pair this with a stable setup to avoid motion blur.
- Use Manual Focus: Auto-focus can struggle in low light. Switch to manual focus for greater precision, especially when shooting distant lights or stars.
Pro Tip: Experiment with different shutter speeds (e.g., 1-5 seconds) to balance brightness and sharpness.
3. Make Use of Available Light
Low-light doesn’t mean no light. Use existing light sources creatively to illuminate your scene.
- Streetlights and Neon Signs: These can add dramatic effects and colours to your photos.
- Reflections: Wet streets, puddles, or glass surfaces can enhance the scene by reflecting lights.
- Ambient Glow: Position your subject near a soft light source, like a lamp or candle, for a warm and natural look.
Pro Tip: Avoid relying on your phone’s flash—it can create harsh shadows and unnatural colours.
4. Focus on Composition
Good composition can make or break your night photos. Use these techniques to add interest and depth:
- Rule of Thirds: Align your subject with the grid lines for a balanced composition.
- Leading Lines: Use roads, pathways, or light trails to guide the viewer’s eye through the photo.
- Negative Space: Emphasise your subject by leaving areas of darkness around it.
Pro Tip: Don’t be afraid of asymmetry—it can create a more dynamic image.
5. Use HDR Mode Wisely
HDR (High Dynamic Range) mode combines multiple exposures to balance shadows and highlights in high-contrast scenes.
- When to Use HDR: Capture details in scenes with bright lights and dark shadows, like a cityscape at night.
- When Not to Use HDR: Avoid HDR for moving subjects, as it can create ghosting due to the multiple exposures.
Pro Tip: Some phones, like the Google Pixel, offer automatic HDR that optimises settings for night shots.
6. Experiment with Light Trails
Long exposures can turn moving lights, like car headlights or stars, into stunning light trails.
- Set a Slow Shutter Speed: Use a 5-10 second exposure for cars or a 20-30 second exposure for stars.
- Find a Stable Spot: Keep your phone steady to avoid motion blur.
Pro Tip: Use apps like Slow Shutter Cam (iPhone) or Camera FV-5 (Android) for extended exposure settings.
7. Post-Process for Perfection
Editing can enhance the details and colours in your low-light photos. Use photo editing apps like Snapseed or Lightroom Mobile:
- Adjust Exposure: Brighten the shadows without overexposing highlights.
- Reduce Noise: Most apps offer noise reduction tools to clean up grainy images.
- Boost Colours: Enhance vibrancy to make lights pop, especially in urban scenes.
- Sharpen Details: Add light sharpening to make your subject stand out.
Pro Tip: Keep your edits subtle to maintain a natural look.
Common Mistakes to Avoid
- Relying Too Much on Zoom: Digital zoom reduces image quality. Instead, move closer to your subject or crop the photo later.
- Using Flash for Everything: Flash can wash out details and ruin the atmosphere. Use it sparingly.
- Ignoring Background Elements: Pay attention to distracting or unflattering objects in the background.
Conclusion
Mastering night photography with a smartphone requires patience, practice, and an understanding of your device’s capabilities. By leveraging your camera’s wide aperture, stabilising your phone, and experimenting with light sources and manual settings, you can capture stunning low-light shots that rival those taken with professional cameras.
Don’t be afraid to explore and push your phone’s limits—night photography is as much about creativity as it is about technique. Grab your smartphone and start shooting after dark; the results might surprise you!

