The Huawei P10 is equipped with a powerful camera system that includes a dedicated time-lapse mode, making it an excellent choice for capturing dynamic scenes over time. Whether you’re shooting a bustling cityscape, a vibrant sunset, or the clouds rolling across the sky, time-lapse videos let you tell a visual story that compresses hours into seconds.
Here’s how to create stunning time-lapse videos with your Huawei P10 and other similar smartphones.
1. Understand Time-Lapse Basics
Time-lapse videos are made by capturing a series of photos at set intervals and then playing them back quickly to create a video.
- When to Use Time-Lapse:
- Moving clouds or weather changes.
- Traffic in a busy city.
- A blooming flower or melting ice.
- Frame Rate: A typical time-lapse condenses several minutes or hours into a few seconds of video.
Pro Tip: For every second of video, you’ll need about 24–30 frames. The longer the interval, the faster the scene will appear to move.
2. Set Up Your Time-Lapse
Access Time-Lapse Mode on Huawei P10
- Open the Camera app.
- Swipe through the modes until you find Time-Lapse.
- Select the mode and position your phone.
3. Stabilise Your Phone
A stable camera is crucial for smooth time-lapse videos. Any movement or shaking will ruin the effect.
- Use a Tripod: Invest in a portable smartphone tripod to keep your phone steady.
- Find a Flat Surface: If you don’t have a tripod, place your phone on a stable surface like a table or a ledge.
- Avoid Touching the Phone: Once set up, avoid handling the phone during the recording.
Pro Tip: Use a remote shutter or timer to start recording without shaking the camera.
4. Choose the Right Scene and Lighting
Time-lapse videos are most effective when there’s noticeable movement or change in the scene.
- Scenes to Capture:
- Nature: Clouds, sunsets, waves, or stars.
- Urban Life: Pedestrians, cars, or construction sites.
- Events: Setting up for a party or the rise of the moon.
- Lighting:
- Avoid low-light conditions unless you have a tripod and are shooting a specific effect (like stars or city lights).
- Use natural light for smooth and vibrant results.
Pro Tip: Golden hour (shortly after sunrise or before sunset) offers the best lighting for outdoor time-lapse videos.
5. Adjust Settings for Optimal Results
Although the Huawei P10 automates most settings in Time-Lapse Mode, you can still fine-tune certain aspects for better quality:
- Resolution: Set the camera to the highest video resolution available (e.g., Full HD or 4K) for sharp results.
- Focus and Exposure: Lock focus and exposure to avoid fluctuations during the recording.
- Tap and hold on the screen to lock focus on your subject.
- Adjust exposure with the slider that appears.
- Manual Mode: If shooting in low light, consider switching to Pro Mode to manually adjust ISO and shutter speed.
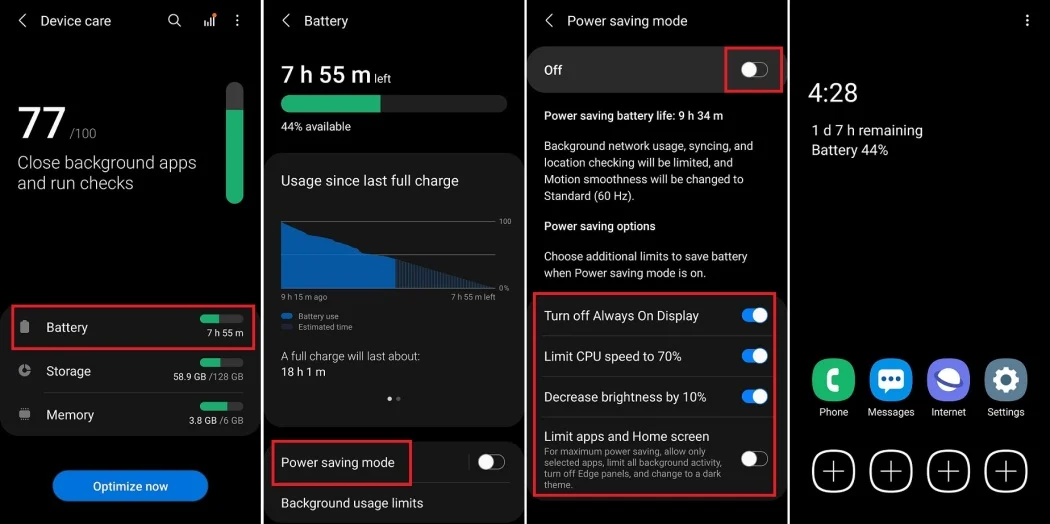
Pro Tip: Use the phone’s Battery Saver Mode to extend recording time during long time-lapse sessions.
6. Plan Your Interval and Duration
The interval determines how often your phone captures a frame.
- Suggested Intervals:
- Fast Movement (e.g., traffic): 1–3 seconds.
- Slow Movement (e.g., clouds): 5–10 seconds.
- Very Slow Movement (e.g., blooming flower): 30 seconds to 1 minute.
- Duration: For a 10-second video at 30 fps, you’ll need 300 frames. With a 5-second interval, this would require 25 minutes of recording.
Pro Tip: Use a time-lapse calculator app to plan your intervals and duration.
7. Monitor Your Battery and Storage
Time-lapse videos can drain your phone’s battery and consume significant storage.
- Battery: Ensure your phone is fully charged or connected to a power source.
- Storage: Check your available storage before starting, as high-resolution videos require more space.
Pro Tip: Delete unnecessary files or transfer older videos to free up space for your time-lapse.
8. Edit Your Time-Lapse
Editing can elevate your time-lapse from good to great. Use apps to adjust playback speed, colour, and more.
- Built-In Editor: Use the Huawei P10’s gallery editor to tweak playback speed and trim the video.
- Third-Party Apps:
- Adobe Premiere Rush: Great for adding music and transitions.
- Lapse It: Designed for time-lapse editing with advanced options.
- Snapseed: Adjust colours, brightness, and contrast for polished results.
Pro Tip: Add music to complement the mood of your time-lapse and make it more engaging.
9. Experiment with Creative Angles and Perspectives
Don’t just stick to eye-level shots—try unique angles to make your time-lapse stand out.
- Low Angles: Position the camera near the ground for dramatic views of moving clouds or flowing water.
- High Angles: Shoot from a rooftop or balcony for wide shots of cityscapes or sunsets.
- Panning: If your tripod supports it, try panning slowly during the recording for dynamic movement.
Pro Tip: Include foreground objects like trees or fences to add depth to your shots.
10. Practice and Refine Your Skills
The best way to master time-lapse photography is through practice. Experiment with different settings, intervals, and subjects to understand what works best for your style.
- Start with short sessions to test intervals and playback speeds.
- Gradually move to longer recordings as you refine your technique.
Pro Tip: Review your time-lapse videos critically to identify areas for improvement, such as smoother camera positioning or better lighting.
Conclusion
The Huawei P10’s time-lapse mode makes it easy to capture dynamic and visually engaging videos with minimal effort. By stabilising your phone, planning your intervals, and choosing the right scenes, you can create stunning time-lapse videos that showcase the beauty of motion and change.
Grab your Huawei P10, head outdoors, and start experimenting with time-lapse photography—you’ll be amazed at the results!


